Pages

Saturday, 27 December 2014

Kimchi Dueji Mari Jjim (Korean Kimchi Pork Rib Roll)

Kimchi, the national food of Korea.  It's not only serve as side dish but also use in many other main dish especially in making stew or soup.  When the kimchi well fermented, it taste rather too sour to be eaten as side dish.  Therefore, many Korean household use well fermented kimchi to make stew like kimchi stew, kimchi fried rice, kimchi pancake and etc. 
 
My mom were first introduced to kimchi after I met my husband but she doesn't like it =.="  She cannot take fermented kimchi as she claims that it's too sour to her taste but she loves this dish - Kimchi Dueji Mari Jjim!  She loves the spicy and sour taste of the kimchi with pork ribs that also goes very well with a hot bowl of rice~ Whenever she come to stay with us, I will make this dish :)


Serving: 2 person
Ingredients:
12 Pork Ribs (cut about 6cm length)
12 leaves of well fermented Kimchi
1/2 medium size Onion (Sliced)
About 8 cm length of Leek (Sliced)
1 liter Water
1 tbsp Sesame oil
Sliced green chilli for garnish
 
Sauce
1 tbsp Gochujang (Korean chilli pepper paste)
1/2 tbsp Gochugaru (Korean chilli pepper powder)
4 tbsp Kimchi juice
1 tbsp Minced garlic
1 tbsp Honey (or 1/2 tbsp sugar)
 
Step by step photos:


  1. Wash and soak pork ribs for 30 minutes in water to get rid of the blood.
  2. Drain the soaking water, and set aside.
  3. Prepare the sauce by mixing gochujang, gochugaru, minced garlic, honey and kimchi juice.  Set aside.
  4. Take a leaf of well fermented kimchi and put in a plate, place a piece of pork rib at the end of the kimchi leave (body part) and roll it up like a spring roll.
  5. Keep repeating for all the pork ribs.
  6. Prepare a pot.  Place all the kimchi pork rib wraps in the pot.
  7. Add in sliced onion and leek.
  8. Add in the sauce and water.  Boil it over high heat for 10 minutes.  After 10 minute, turn to low heat for another 40 minutes to 1 hour or until the meat is cooked and soft with lid on.
  9. Off the heat, drizzle some sesame oil and garnish with some sliced chilli and serve~ ^^
Tips:
* Adjust the spicy level by adjusting the gochugaru amount.
** Adjust the sour level by adjusting the honey/sugar amount.


Wednesday, 17 December 2014

Kongnamul Bap (Soybean Sprout Mix Rice)

Whenever I feel tired or lazy to cook, I will make "One Pot Meal" which doesn't require too much preparation time and easy to make...most importantly taste great too! ;)
 
Today I am going to share this nutritious and absolutely cost friendly one pot dish - Kongnamul Bap.  "Kongnamul" means soybean sprout in English and "Bap" means rice.  Korean believes that soybean sprout help to relieve common cold because it contains lots of vitamin C, minerals and fiber.  They also steam the soybean sprouts to get its juice and drink it with honey when having cold.
 
The soybean sprouts give some nutty flavor to the rice and the seasoning sauce adds great flavor to the rice.  Add an egg and mix together for more flavor and for vegetarian, you can skip the meat and substitute with chopped mushroom.


Serving: 3 - 4 person
Ingredients:
About 300g Soybean sprouts
1 & 1/2 cup Short grain rice
180g Minced pork (or beef) - Seasoned with pinch of black pepper and salt
1 & 1/2 cup water*
 
Seasoning sauce
2 stalks Spring onion (chopped)
1 green chilli (finely minced)
1/2 tbsp Gochugaru (Korean hot pepper flakes)
1 tsp Finely minced garlic
4 tbsp Soy sauce
1/2 tsp Sugar
1 & 1/2 tbsp Sesame oil
1 tbsp Sesame seed
 
Step by step photos:


  1. Add a pinch of salt and black pepper to minced pork.  Mix well and set aside.
  2. Wash and discard any brownish rotten soybean sprouts.  Drain well.
  3. Wash short grain rice and add water in rice cooker pot (*add a little lesser water compare to the amount you normally add.  This is due to soybean sprout will release water as they cook).
  4. Add soybean sprout on top of the rice and seasoned minced pork on top of soy bean sprout. (Spread the minced pork evenly so that it will cook more thoroughly).
  5. Close rice cooker lid and press "cook rice" button.  It takes about 45 minutes to 1 hour depends on your rice cooker.
  6. While waiting, prepare the seasoning sauce: mix chopped spring onion, green chilli, gochugaru, minced garlic, soy sauce, sugar, sesame oil and sesame seeds.
  7. Once the rice is cooked, mix and stir in everything in rice cooker gently.
  8. Transer to a serving bowl and add the seasoning sauce according to your preference.
*Can choose to add a sunny side up egg and roasted dried seaweed for more flavor.  It taste delicious with kimchi too!


Friday, 12 December 2014

Bugeo-Guk (Dried Pollock Soup)

Bugeo-guk, one of the easiest and non-spicy soup that I like.  The main ingredients used in this soup are dried pollock and radish which makes the soup taste sweet and savory. 
 
Dried pollock soup is also well known as the best soup for relieving hangover. It's quite common for Korean to have alchohol during meals and they have various types of soup for soothing and warming up the tummy the next day, one of them is bugeo-guk.  Anyway, you can have this soup even though you are not having hangover ^^  It tastes really delicious even my 3 year old enjoy drinking the soup :)


Serving:2
Ingredients:
About 25 stripes of Dried pollock
1 cup cut radish
6cm length of leek (sliced)
1 Egg
1 liter Water
Sliced chillis (for garnish)
1 tsp minced garlic
1 tbsp Sesame oil
1 tbsp Fish sauce (Anchovy) - Optional, can substitute with 1/2 tsp of salt
1 tbsp Soy sauce

Step by step photos:


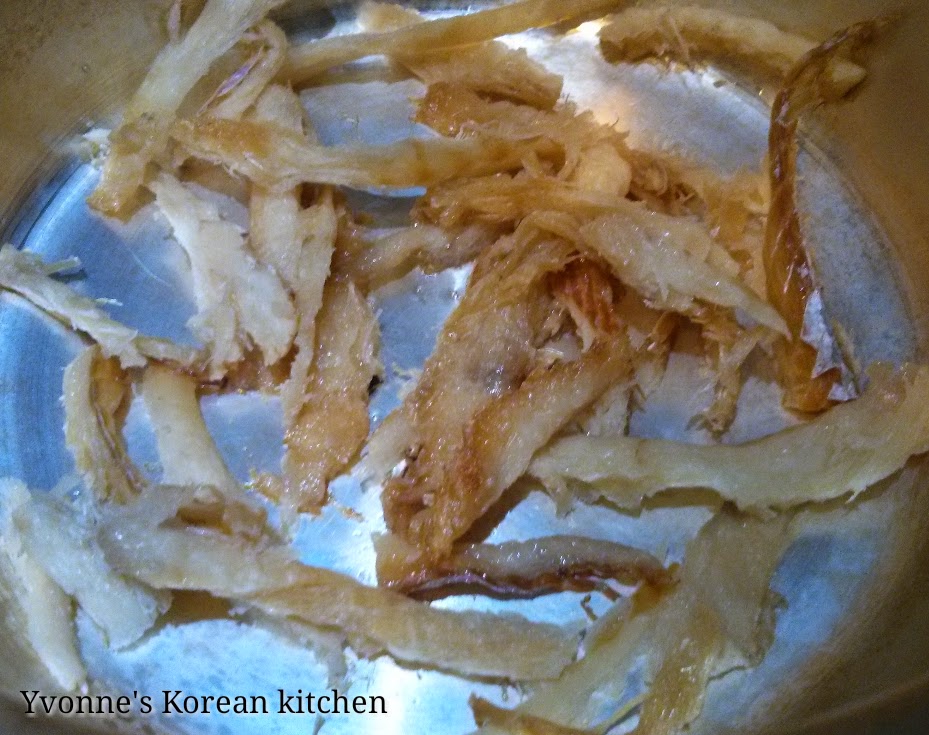
  1. Soak dried pollock in water for a few minutes while cutting/slicing the vegetables.
  2. Drain the soaking water and slightly squeeze out the water from pollock stripes.
  3. Prepare a pot and add in sesame oil over low heat.
  4. Add in pollock stripes and stir for 30 seconds over medium low heat.
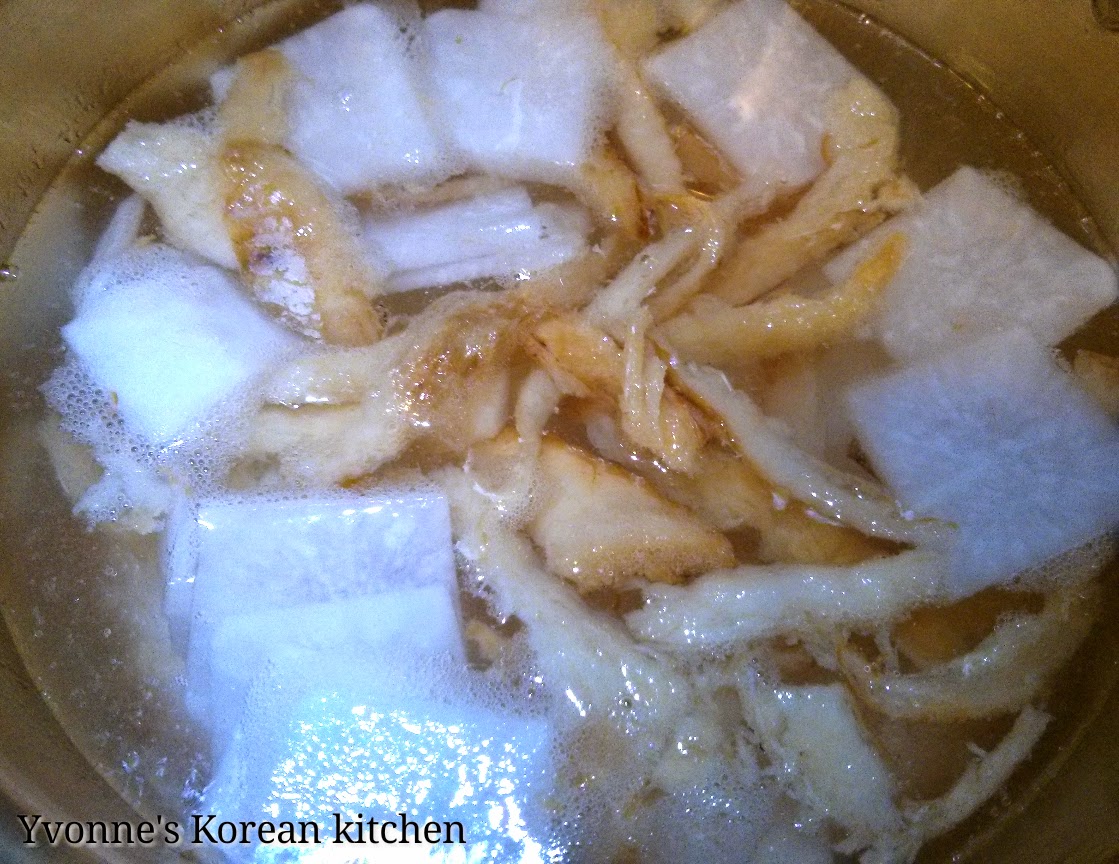
  5. Add in radish and water.  Turn the heat to high and let it boil for 10 minutes.
  6. Add in minced garlic, fish sauce and soy sauce.  Boil for another 5 minutes.  Scoop out bubbles if any (this helps to make clear, refreshing soup).
  7. Add in leek and let it simmer for another 5 minutes over medium low heat.
  8. When the radish and pollock becomes soft, beat an egg and pour into the soup (*Do not stir the soup until the beaten egg is cooked and floating on the soup).
  9. Off the heat and add a dash of black pepper if preferred.  Add the sliced chilli on top for garnish.  Serve hot!


Sunday, 7 December 2014

Bossam (Boiled Pork Wraps)

Bossam is a boiled pork dish and the word "ssam" literally means wraps in Korean.  I prepared this dish when I made my new batch of pogi kimchi few days ago.  The boiled pork is really delicious to eat with newly made kimchi.  I think this is a very well balance meal where you have meat and vegetables together :)
 
My husband told me that there is a secret ingredient used in making this dish - Coffee.  It's said that the coffee will help to reduce the pork smell and enhanced the flavour of the dish, and it also gives a nicer and deeper colour to the pork.  You can use any types of pork but in our household, we usually make this dish with pork belly. 


Serving: 2 person
Ingredients:
350g Pork belly
1 Onion (Small size)
About 12cm length of Leek (white part)
6 cloves Garlic
1 piece Ginger (about half thumb size)
A pinch Black pepper
1 tbsp Duenjang (fermented soybean paste)
1 tsp Coffee powder
1 liter Water
 
For the wrap:
Geotjeori (Fresh Kimchi Salad) - Drizzle some sesame oil, sesame seeds, and a pinch of sugar on the newly made kimchi, toss slightly.
Lettuce
Perilla leaves (optional)
Sliced garlic
Sliced chilli
Sauce: Salted shrimp
 
Step by step photos:


  1. Prepare a pot, add in water, onion, leek, garlic, ginger, black pepper, duenjang and coffee powder.  Bring to a boil at medium high heat.
  2. Once it starts to boil, add in pork belly and cook for 1 hour or until the pork meat is cooked and tender over medium low heat.
  3. When the pork is completely cooked, turn the heat off and let the meat rest and cool down in the liquid.
  4. After the meat has cool down, take out from the liquid and slice thinly.
  5. Serve with kimchi, vegetables and sauce.

How to eat: Take a lettuce and perilla leave, put it on your hand palm, place a piece of sliced boiled pork, garlic, chilli, kimchi and 3 to 4 piece of tiny salted shrimp, wrap them up and put in the mouth~ yummm ^^
* You can make the wrap with some rice in it too.


Tuesday, 2 December 2014

Pogi-Kimchi/Tongbaechu-Kimchi (Traditional Napa Cabbage Kimchi)

Generally, November the beginning of winter is the kimchi making season in Korea.  It's said that the napa cabbage (baechu) during the end of the year is big and sweet, which is really suitable to make baechu kimchi.  Families make about twenty to hundreds of pogi kimchi so that it can last them through the long winter.  This process is called "kimjang". 
 
Tongbaechu kimchi is the most general and basic kimchi in Korea.  There are slightly difference in the ingredients of making kimchi.  It's depends on the household.  Some household use salted shrimp paste (Saewujeot), but some will use other seafood like fresh oyster or squid.  Today I am going to use the most common one - salted shrimp paste and fish sauce.  My mother in law adds fresh oyster in her kimchi but it's quite hard to get fresh oyster here...so I will skip...
 
It's quite labour intensive in making kimchi but it's all worthwhile!  It's a great food rich with nutritions and it's the main ingredients in making yummylicious Korean food like kimchi jjigae, kimchi fried rice, kimchi jeon and etc.  Have a try! :)


Ingredients:
4 Baechu (Napa cabbage) - about 8.5kg
12 stalk Spring onion
35 stalk Chives
5 cups of Radish (cut into stripes)
2 cups of carrot (cut into stripes)
 
10 cups of Coarse sea salt
6 liter water
 
Paste (Marinating sauce)
5 cups of water
1 cup of sweet rice flour (or glutinous rice flour)
1 cup Sugar
 
35 piece of Garlic
2 Onion (big size)
3 Apple (small) or 1 big pear
1 piece of Ginger (Thumb size)
1 cup Saewujeot (salted shrimp paste)
1 & 1/2  cup Fish sauce
1 & 1/2 cup Gochugaru (Korean chilli powder)
 
Step by step photos:


  1. Trim and remove any bad parts of the napa cabbage.
  2. Divide and cut the napa cabbage into quarter (length wise).
  3. Prepare a large basin.  Dissolve 6 cups of salt into 6 liter of water (*Tip: 1 cup of salt = 1 liter of water).
  4. Start from the outermost leaf, sprinkle salt generously over the thick inner part of each leaves.  Repeat for each cabbage and let them soak in the salt water for 6 hours.  Turn over and rotate the bottom cabbage over to the top every 2 hours.
  5. When the white part is easily bendable, it's ready to be washed.  Wash thoroughly about 3 times over running water to remove the excess salt and dirt.
  6. Prepare a strainer and place the washed cabbages on it to drain off excess water.  This may take another 2 to 3 hours or you can drain the water off by squezzing the cabbage.
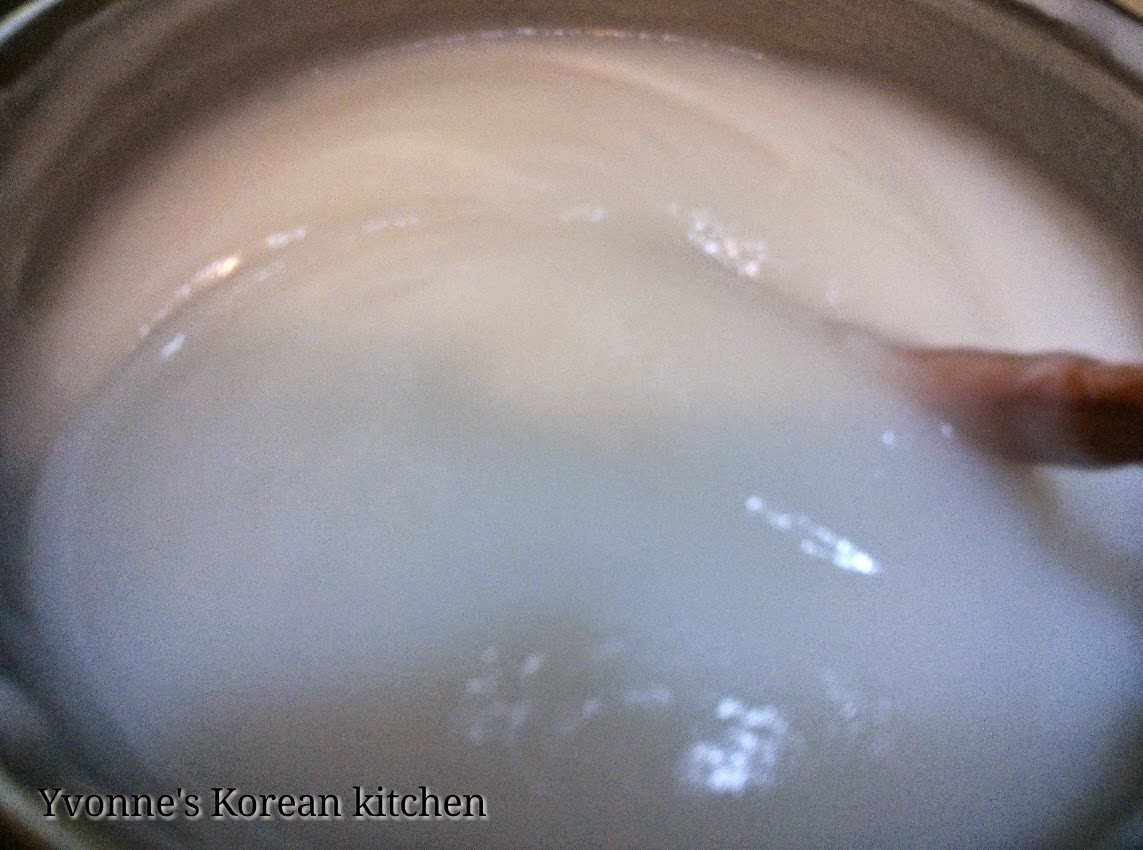
  7. While waiting for draining the excess water, prepare the marinating sauce.  Prepare a pot, put in 5 cups of water and 1 cup of sweet rice flour.  Keep stirring over low heat.  This process takes about 8-10 minutes.  When it starts to bubble and thickens, add in 1 cup of sugar.  Keep stirring for another 1 minute. Off the heat, set aside and let it cool.
  8. Cut the radish, carrot, chives and spring onion into stripes.
  9. Blend/grind garlic, onion, ginger, apple, salted shrimp paste, fish sauce and gochugaru.
  10. Pour the blended kimchi paste into a big basin, add in carrot, radish, spring onion and chives stripes.  Add the sweet rice paste and mix well.
  11. Spread some kimchi paste over each cabbage leaf.  When every leaf is covered with kimchi paste, bend and wrap the leaves part towards the stem part and place it in a container. After all kimchi has been put into the container, press down hard to release air pockets.
  12. Leave it to room temperature overnight and store in the fridge.
  13. It will take about 2 weeks for the kimchi to develop full flavour depending on the temperature (cold temperature will slow down the fermenting process and your kimchi won't become sour too fast).
*You can use an egg to check the saltiness level of your salt water.  After dissolve salt in water, place an egg in the basin.  If the egg floats, it's salty enough~ :)